Showing posts with label browned butter. Show all posts

Sunday, October 13, 2013

Browned Butter Butterscotch Brownies

Do you need a delicious, easy, relatively quick go-to dessert?  These bars are it.  They are bar cookies, but my little one calls them butterscotch brownies.  Whatever you decide to call them, they are pretty amazing!  Bonus?  They are easy enough to mix by hand so I don't need to pull out my kitchen aid mixer.

I first found this recipe in a novel.  They are called Butterscotch Bonanza Bars.  I like to read mystery series, especially ones with cooking themes.  The Hannah Swensen series by Joanne Fluke is a bit fluffy for my usual reading taste, but the recipes are amazing.

I only made one change to the author's recipe, but I think it makes a big difference.  Instead of simply melting the butter, as originally called for, I brown it.  You know I am a little obsessed with brown butter, but using it in this recipe is a match made in heaven.
the mixed butter and sugar

Ingredients
½ cup salted butter
2 cups light brown sugar
2 teaspoons baking powder
1 teaspoon salt
1 teaspoon vanilla
2 eggs, beaten
1½ cups flour
1 cup chopped nuts (optional)

2 cups butterscotch chips or flavor of choice (you can even mix flavors)

Directions
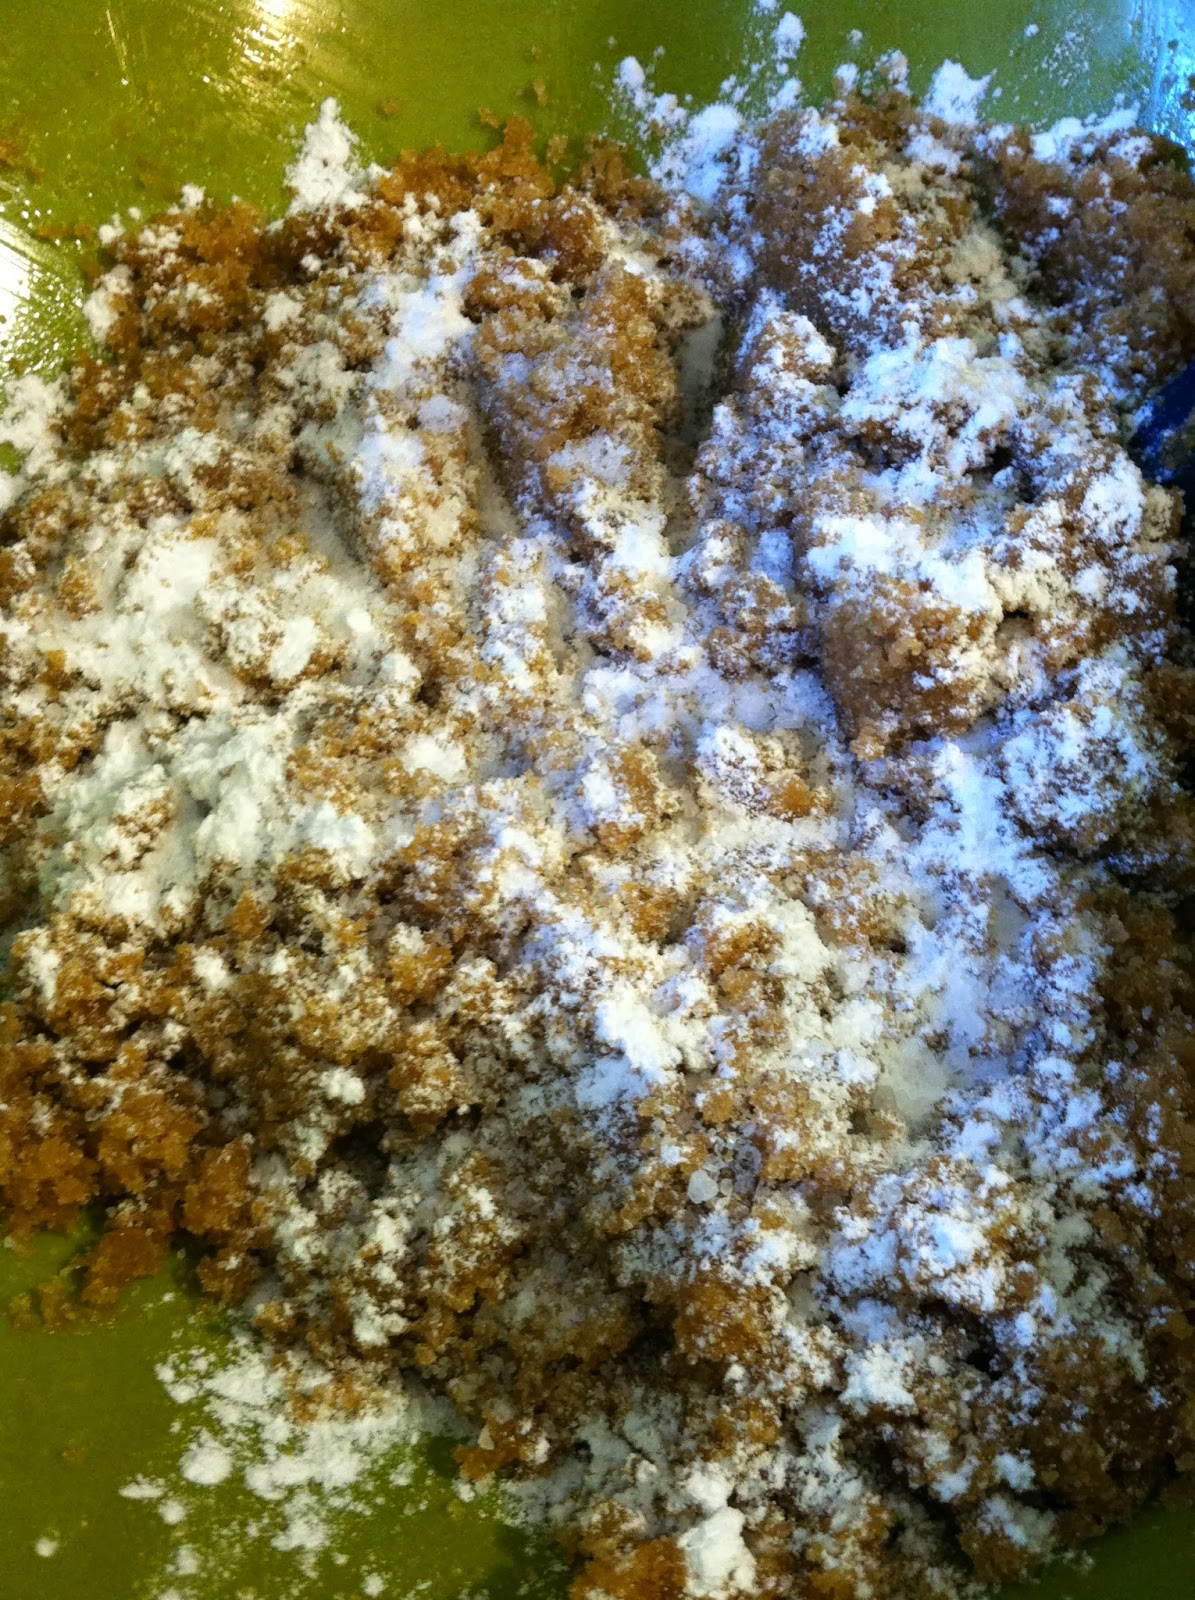
                   
                        I sprinkle the baking soda
                             and salt all over.
                  Then mix.
Preheat oven to 350.  Butter and flour a 9x13 pan. Brown the butter.    Add brown sugar and stir well. Mix in baking powder and salt; stir in vanilla and eggs. Add flour by ½ cup increments, stirring in each half cup before adding the next. Stir in nuts and chips.
Spoon batter into the and smooth it out. Bake at 350 for 20-25 minutes. Cool completely before cutting. 

Helpful hints
  • If you have dark brown sugar, mix 1 cup dark brown sugar and 1 cup white sugar. You can make brown sugar by mixing molasses into white sugar until it’s the right color.  I have done both of these and have everything come out great.  
  • If you are too nervous about the brown butter bit, you still need to melt the butter.  That is part of the beauty of this recipe.  You are already melting the butter.  Just take it to that next level.  I promise, you can do this.  I found that using a pan, not a pot, speeds the process.  It won't take nearly as long as when browning 2 sticks of butter for cookies.  It's still worth it for the cookies, by the way.
  • Feel free to get creative with the chip/nut combos.  I have made these with no chips or nuts; chips only; nuts only; butterscotch only; chocolate only.  And I rarely use 2 cups of chips.  I kind of eyeball it.  Or see what I have left in the pantry.  
  • You really do need to let these cool completely.  
  • The pan I like to use is a tad smaller than a 9x13.  I need to cook these for about 30-35 minutes.  The edges get incredibly and deliciously crispy.  If I think they are going to get burned, I turn down the oven to 325. 
I had a handful each of butterscotch and mini chocolate chips.
Ta Da!  And yes, those crispy edges taste even better in real life.  


Tuesday, August 28, 2012

Browned Butter (and cookies to make with it)

My lovely mixer in action.  


In the few weeks since camp I have been making rather regular and kind of ho-hum dinners.  Nothing to write home, or here, about.   However, I did discover extraordinary chocolate chip cookies.  What makes these cookies so extraordinary?  Three things...bread flour, sea salt, and browned butter.  What is bread flour?  I wasn't sure but when I looked it up I discovered it has more gluten than all-purpose flour.  More gluten = chewier.  Chewier cookies are a plus in my book.  Sea salt, I know and love, especially with chocolate.  But I had never browned butter before.  I thought I had done so before when I was trying to make a browned butter and sage sauce for pumpkin ravioli last fall.  Apparently I was wrong.  I had only made melted butter and sage sauce I guess.

I followed some directions I found but I still was not sure if I was doing it correctly until Ta-Da! browned butter it was!  A few people have asked me about the process so I decided to take some pictures the next time.  Sure, you can find plenty of recipes and blogs that give you browned butter tutorials, but since you are reading this blog, you can find it here, too!  See?  I aim to please.

This is the link to the recipe I used to bake the cookies.  They are quite delicious as is, but I think next time I will use dark brown sugar versus light brown, just to see.  According to Alton Brown, the darker the sugar, the chewier the cookie.  There are actually TONS of recipes out there in blog land for sea salt browned butter cookies.  I kind of randomly found this one after not being able to re-find the original recipe I had planned to use.  Plus, I had all the ingredients, so, you know, that's a bonus.

**********UPDATE**********
I have made the cookies several times now.  I really like the dark brown sugar because of the depth of flavor it gives, plus they get nice and chewy.  The first few times I made them they got pretty crispy.  They were delicious but not chewy.  So I had to play around with the time and really look at them a few times until I figured out what worked to make them chewy and still a little crispy on the outside.  I found that when they look almost done....like they still might be almost runny on the inside...I pull them out.  I let them sit on the cookie sheet on the top of the stove for a few minutes, until set.  If you try to move them now they will fall apart.  Then let them cool on a cooling rack.  To me, these are perfect with a cup of coffee.  Enjoy!
You can see the few sprinkles of coarse sea salt.

Up close and personal


Here we go...
For some reason it is sideways, but for this recipe use unsalted butter.


Cut the butter into tablespoon-sized pieces for more even melting and put into a small pot over medium heat.


Whisk it occasionally.  


It gets nice and frothy and still smells buttery.


Then it boils.  Like serious boiling!!!


At this point I was wondering when this so-called browning would occur.  Had I missed it?  This had been on the stove for almost 10 minutes already!  Eventually, it keeps boiling, you keep whisking once in a while, and around then you start to smell the MOST amazing nutty smell.  At the same time you will see brown bits at the bottom of the pot.  That's how you know it's now browned butter.  I was going to let it go a little further to see how brown I could take it, but I was afraid to burn it and I needed this butter to make the cookies!  

Do not be afraid of the browned butter.  I want to use it in everything now because it gives such a depth of flavor to whatever you are putting it in.  I would love if you make it, if you would come back here and leave me a comment to let me know!